Why Body Condition Matters More Than It Looks
A used car's body condition is a direct record of its history. Rust, filler, and mismatched panels are not just aesthetic issues — they can signal unrepaired collision damage, long-term water intrusion, or deferred maintenance that adds up to expensive future repairs. Before evaluating any mechanical systems, a careful exterior walk-around gives you critical context for everything else you find.
For a broader framework of what to check at each stage of an inspection, see the full bumper-to-bumper inspection guide. This article focuses specifically on body condition and how to interpret what you find.
Inspect in Daylight, Not a Showroom
Artificial lighting — especially in indoor showrooms — flattens surface irregularities and can disguise paint-color mismatches. Always arrange to see a vehicle in outdoor daylight before committing. If a seller resists this request, that itself is worth noting.
What to Bring and Where to Look
You don't need specialized equipment to conduct a useful body inspection, but a few tools sharpen your findings considerably.
Flashlight or phone torch
Illuminates wheel arches, door jambs, and undercarriage areas that are difficult to assess in ambient light.
Paint thickness gauge (PTG)
Measures paint depth across panels; significant variation pinpoints areas where filler or respray has occurred.
Small telescoping inspection mirror
Lets you view behind wheel arches and along the underside of rocker panels without needing a lift.
Vehicle history report
Documents reported accidents, title changes, and prior ownership, providing context for any body findings.
Inspect the vehicle in open daylight — overcast conditions are ideal because shadows and direct glare both obscure surface irregularities. Start at one corner and work systematically around the car so you don't skip panels.
Key zones to prioritize: wheel arches, rocker panels (the sill running beneath the doors), the base of the A- and B-pillars, the underside of door edges, the trunk floor, and any seam where two panels are joined. These are where moisture collects and where rust typically initiates.
Step-by-Step: Reading the Body
Follow these steps in order to build a systematic picture of the car's body condition before making any decisions.
Crouch at Each Corner and Sight Down the Panels
Stand at each corner of the car and look along each body panel toward the opposite end of the vehicle. Rippling, waviness, or dull spots in the paint reflection indicate filler beneath the surface. A straight, well-maintained panel will show a smooth, consistent reflection.
Check Panel Gaps for Consistency
Walk along each side and compare the gaps between adjacent panels — hood to fender, door to door, trunk lid to quarter panel. Gaps should be uniform in width and parallel. A gap that widens, narrows, or runs at an angle suggests a panel was replaced or the vehicle sustained an impact significant enough to shift body alignment.
Inspect Paint Sheen and Color Match
Stand back and compare the color and sheen of each panel in consistent light. Factory paint ages uniformly; a repainted panel often appears slightly different in depth, texture, or hue. Check door jambs and the inside of the trunk lid — if the color there doesn't match the exterior panels, repainting occurred after manufacture.
Probe Rust-Prone Zones with Your Fingers
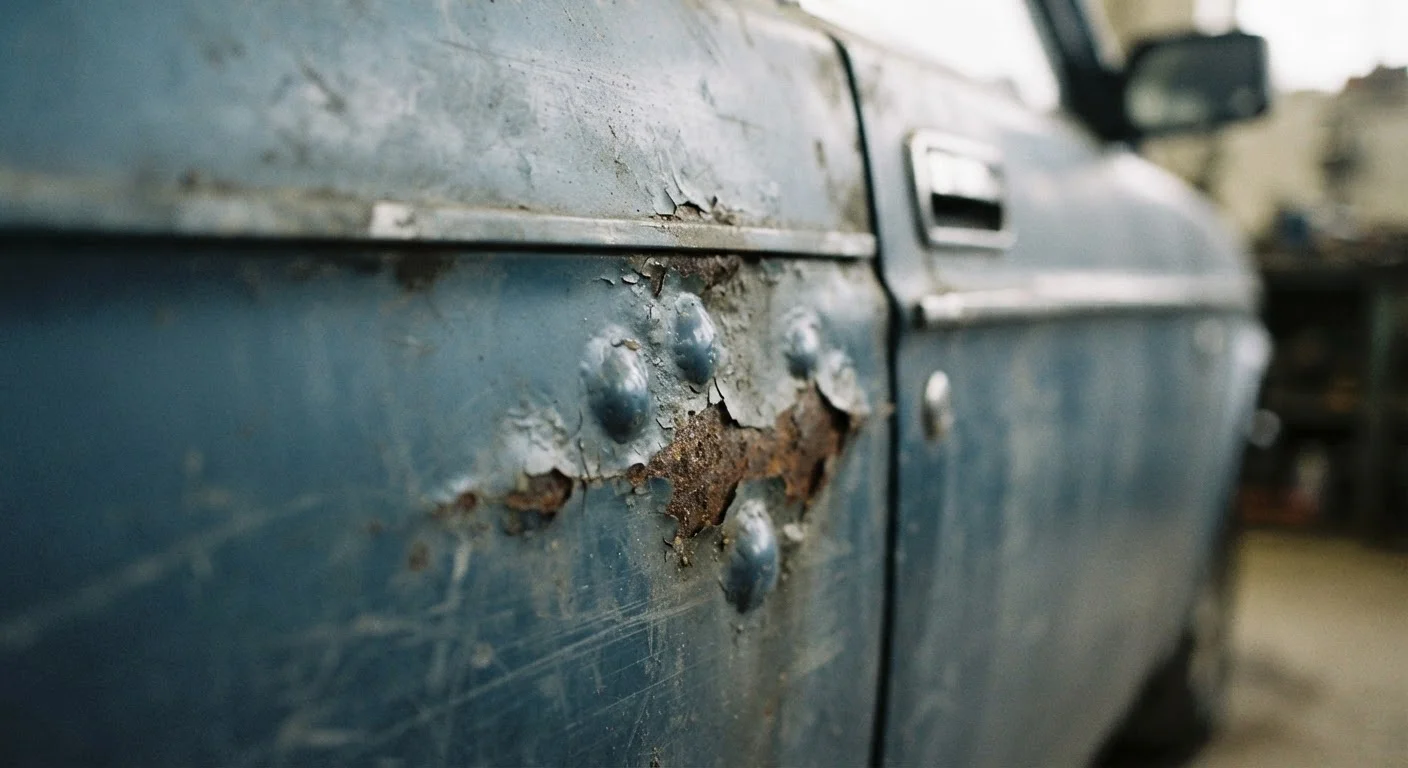
Press firmly but gently along the bottom edges of doors, inside wheel arches, and along rocker panels. Paint that crackles, flexes, or feels soft underneath indicates rust or filler rather than solid steel. Any area that gives way under light pressure warrants closer inspection by a mechanic with a lift.
Look Under the Car
Crouch and look beneath the vehicle along the rocker panels, frame rails, and underside of the floor. Surface discoloration and minor surface rust on exposed metal is common and generally acceptable on older vehicles. Heavy flaking rust, holes in the floor pan, or evidence of welded patches on structural members are serious findings.
Request a Pre-Purchase Inspection
If your walk-around raises questions — or even if it doesn't — arrange for an independent pre-purchase inspection (PPI) by a qualified mechanic at a shop of your choosing. A lift inspection allows access to the undercarriage and can confirm whether rust or prior repairs extend beyond what surface examination reveals.
Interpreting Your Findings: Cosmetic vs. Structural
Not every rust spot is a deal-breaker. Light surface oxidation on bolt heads, minor door-edge bubbling, or small paint chips that have begun to oxidize are common on older vehicles and are generally repairable at reasonable cost. The distinction that matters is whether corrosion has reached structural steel — the frame rails, uni-body floor, subframe mounts, or strut towers.
Similarly, a single repaired panel is not automatically disqualifying. Many well-maintained vehicles have had a fender replaced after a minor collision. What raises concern is evidence of extensive or poorly executed repairs: multiple adjacent panels with filler, color discrepancies that span the entire side of the car, or gaps that suggest the frame itself shifted during an impact.
If you're uncertain how to price what you've found, understanding a repair estimate can help you translate a body shop quote into concrete negotiating terms. For patterns that suggest flood or crash damage, signs sellers hope you miss covers additional evidence to seek out.
Structural Rust Is Not a Negotiating Point
Corrosion that has penetrated frame rails, floor pans, or strut towers affects the vehicle's crash-safety performance and may render it unsafe to drive. This is not a cosmetic issue that can be addressed with surface treatment. If a mechanic identifies structural corrosion during a pre-purchase inspection, treat it as a reason to walk away rather than a basis for a price reduction.
When to Walk Away vs. When to Negotiate
Structural corrosion, severe underbody rot, or evidence of an unreported major collision are situations where walking away is the prudent choice for most buyers. The cost and complexity of structural repairs typically exceed what sellers disclose in pricing, and safety cannot be restored by cosmetic work alone.
Cosmetic findings — surface rust, minor filler on a single panel, small paint-color variation — are legitimate negotiating points. Document each finding with photos before you raise them with the seller, and use verifiable repair estimates rather than rough guesses as your basis for any price reduction discussion.
Before visiting any vehicle, a listing's photos and accident-history disclosure can give you early signals worth checking. Reading a used car listing explains what the details tell you before you make the trip. For buyers newer to the process, sourcing a used car you can trust provides a solid starting framework.