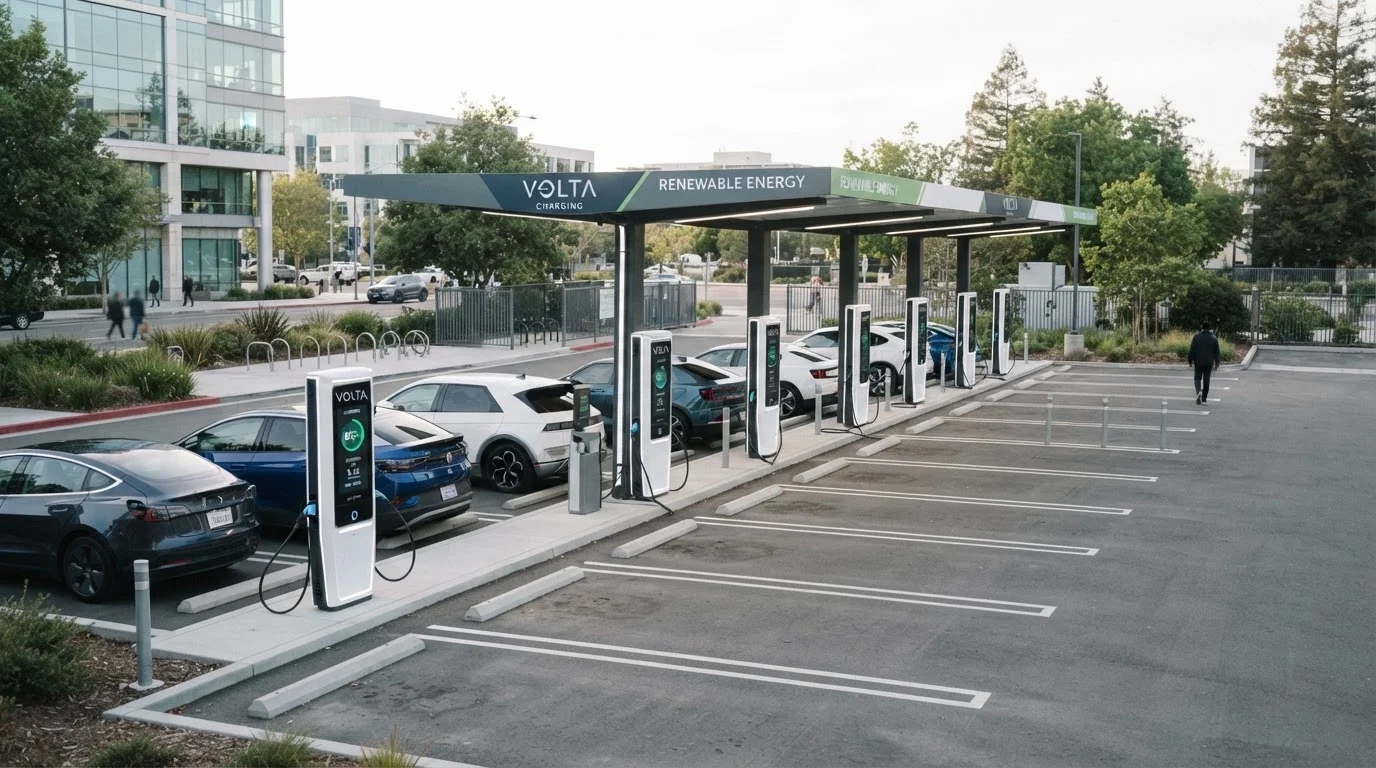
Understanding Charging Levels and What They Mean for You
Public EV charging is organized into three broad speed tiers. Understanding which tier you're using - and why it matters - is the first step to confident charging away from home.
Level 1 (120V AC): Rarely found at public stations, this is standard household outlet speed. It adds roughly 3-5 miles of range per hour and is impractical for most on-the-go situations.
Level 2 (240V AC): The workhorse of public charging. Found at shopping centers, parking garages, hotels, and workplaces, Level 2 stations typically deliver 10-30 miles of range per hour depending on the charger's output and your vehicle's onboard charger capacity. Expect a partial charge in 2-4 hours - suitable for errands or overnight stays.
DC Fast Charging / Level 3: These high-power stations bypass the vehicle's onboard charger and push DC electricity directly to the battery. Output varies widely - from around 50 kW at older units to 350 kW at premium stations - but even a modest 50 kW fast charger can add 100+ miles of range in roughly 30 minutes for many vehicles. These are the stations you'll seek out on road trips.
For a broader look at how charging costs factor into long-term EV ownership, see our five-year EV cost breakdown.
Pre-Register With Multiple Networks Before You Travel
Set up accounts with at least two or three major networks (such as Electrify America, EVgo, and ChargePoint) before your first long trip. Downloading apps and adding payment methods at home - not at the charger - means you won't fumble through registration when you're low on charge. Many networks offer a small amount of complimentary charging to new members, which is worth verifying during setup.
Connector Types: Matching Your Car to the Station
Not every plug fits every car. Before your first public charging session, confirm which connector your vehicle uses:
- CCS (Combined Charging System): The dominant standard for most non-Tesla EVs sold in the US, supporting both AC and DC fast charging through a single port.
- NACS (North American Charging Standard): Originally developed by Tesla and now adopted by a growing number of automakers. Many new non-Tesla models are being built with NACS ports or shipping with adapters.
- CHAdeMO: An older DC fast-charge standard used primarily by certain Japanese-market vehicles. Less common at new US installations.
- J1772 (Type 1 AC): The universal AC charging connector in North America. Nearly every non-Tesla EV has a J1772 port or ships with a J1772-compatible adapter for Level 1 and Level 2 AC charging.
The shift toward NACS is ongoing - check your vehicle's manual and the manufacturer's adapter guidance before assuming compatibility at any given station. If you're still weighing which EV to purchase, our guide on what to assess during an EV test drive covers connector and charging questions to ask before you buy.
Payment, Apps, and Finding Stations
Public charging networks each operate their own payment infrastructure. The main options you'll encounter:
- Network apps: Providers such as Electrify America, EVgo, Blink, and ChargePoint require account creation via a smartphone app. Some allow pay-as-you-go without a membership; others offer subscription plans that reduce per-kWh or per-minute costs.
- RFID cards: Many networks issue physical cards linked to your account - useful when cellular signal is weak at a station.
- Plug-and-charge: A growing number of newer stations and vehicles support ISO 15118, which authenticates and initiates billing automatically when you plug in - no app or card needed.
- Credit card tap-to-pay: Increasingly common at newer installations, allowing one-off sessions without an account.
To locate stations before and during a trip, use your vehicle's built-in navigation (most EVs filter for compatible charger types automatically), or third-party apps like PlugShare, which aggregates real-time check-in data from other drivers. Always have a backup station identified - equipment downtime does occur.
Pricing structures vary: some networks bill by the kilowatt-hour (kWh), others by the minute, and some combine both. Per-kWh billing most closely reflects actual energy delivered and is generally easier to compare against your home charging rate. For context on how home and public charging costs interact, our home EV charging installation guide explains the baseline you'd be measuring against.
Step-by-Step: Your First Public Charging Session
Follow these steps to navigate your first away-from-home charging stop with confidence.
Plan your stop before you leave
Use your vehicle's navigation system or PlugShare to identify charging stations along your route. Filter by connector type compatible with your car, minimum power output (aim for DC fast charging on longer trips), and network membership you already hold. Note a backup station within a few miles of your primary choice.
Arrive with adequate remaining range
Don't wait until your battery is critically low. Aim to arrive at the charger with at least 10-20% state of charge remaining. This preserves battery buffer if the first station is unavailable and ensures fast-charge speeds - many EVs slow their charge rate significantly below 10% to protect the battery.
Authenticate and initiate the session
Open the network's app, tap the station's QR code, or present your RFID card to the reader. Some stations prompt you to select your connector type before the port unlocks. Once authenticated, the screen will typically confirm the session has started and display live power delivery in kW.
Plug in and confirm power delivery
Insert the connector firmly until it clicks and locks. Check your vehicle's dashboard or the charging station's display to confirm kilowatts are flowing. The displayed kW should align with the station's rated output and your vehicle's maximum AC or DC acceptance rate - whichever is lower. A sudden drop to very low kW may indicate a fault.
Monitor, then end the session correctly
For fast-charge stops on road trips, charging to 80% is typically sufficient and significantly faster than pushing to 100%, since most EVs taper charge rate above 80% to protect battery longevity. When ready to stop, end the session through the app or station interface before unplugging - some networks charge idle fees if you remain connected after the session concludes.
If you're assessing whether public charging fits your lifestyle before committing to an EV, our article on common EV lifestyle mismatches is worth reading first. For a full end-to-end transition guide, see Switching to an EV: A Complete Walkthrough.