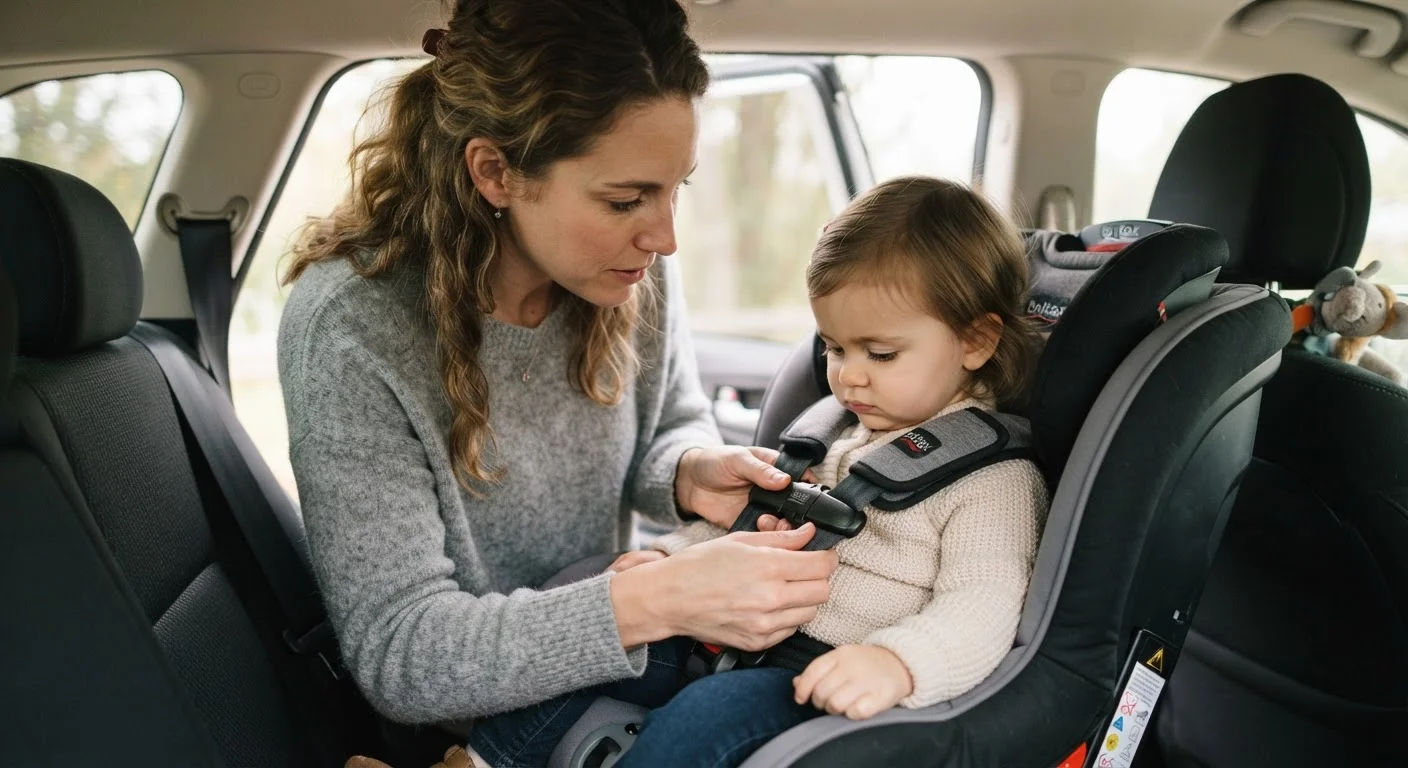
Why Fit Matters More Than the Seat Itself
A child car seat is only as effective as its installation. Studies by safety advocacy organisations consistently show that a large proportion of car seats on the road are used incorrectly in some way — whether that's loose installation, incorrect harness height, or the wrong seat stage for the child's size. The seat's crash-protection engineering only works when every element is set up properly.
This isn't about having the most advanced equipment. It's about understanding how to use what you have, correctly, every single time. The practices below apply regardless of seat brand or vehicle model and are grounded in guidance from child passenger safety standards used across the U.S.
If you're also evaluating which vehicles provide the best environment for child seat installation, our guide to comparing safety packages across trims covers rear-seat LATCH anchor ratings and other relevant factors.
Core Practices for Getting the Fit Right
Apply each of these practices methodically. Skipping even one step can compromise the seat's ability to protect your child.
Match the seat stage to the child's current height and weight — not their age.
Age is a rough proxy, but children grow at different rates. Transitioning too early — moving from rear-facing to forward-facing, or from a harnessed seat to a booster — reduces protection before the child's body is ready to handle the forces of a crash. Manufacturer-specified height and weight limits are the only reliable criteria.
Install the seat with less than one inch of movement at the belt path.
A seat that shifts more than one inch side-to-side or front-to-back when gripped at the belt path is not secure. In a crash, that slack translates into uncontrolled movement that the seat's design cannot compensate for.
Set harness straps at or below the child's shoulders for rear-facing seats, at or above for forward-facing.
Harness height determines how crash forces are distributed across the child's body. Straps routed above the shoulders on a rear-facing infant allow the harness to ride up during impact, reducing restraint. The reverse applies to forward-facing seats.
Perform the pinch test on the harness after buckling.
A harness that can be pinched into a fold at the shoulder is too loose. Excess slack means the child has room to move forward before the harness engages, increasing injury risk. The harness should lie flat and snug against the collarbone.
Position the chest clip at armpit level — not at the stomach or neck.
The chest clip is a positioning device, not a primary restraint. Placed too low, it provides no benefit to harness positioning and can cause abdominal injury in a crash. Too high risks neck injury. Armpit level keeps the harness straps correctly spaced across the chest.
Verify the correct recline angle for rear-facing seats using the built-in indicator.
Rear-facing seats must recline at the angle specified by the manufacturer — typically between 30 and 45 degrees — to prevent an infant's head from falling forward and restricting the airway, and to ensure the seat manages crash forces correctly. Most seats include a bubble or line indicator for this purpose.
Quick Checks Before Every Trip
A full reinstallation isn't required daily, but a brief pre-trip inspection takes under 60 seconds and catches problems that develop over time — harnesses loosened by a child wriggling free, chest clips migrated downward, or seats shifted after cargo loading.
Building these checks into your routine is the same discipline that experienced drivers apply to mirrors and blind spots. If you're a newer driver still developing safe habits, our guide for new licence holders covers the awareness gaps that matter most in real-world driving.
Getting a Professional Inspection
Even careful parents benefit from a professional check. Certified Child Passenger Safety Technicians (CPSTs) are trained specifically to identify installation errors that aren't obvious to untrained eyes. Many fire stations, hospitals, and community organizations offer free seat checks — the National Highway Traffic Safety Administration (NHTSA) maintains a locator tool on its website to help you find inspection events near you.
Bring your vehicle, your seat, and the seat's instruction manual to the inspection. Different vehicles have different LATCH anchor positions and seat-belt geometry, so an installation that worked in one car may not be correct in another. If you switch vehicles regularly — such as carpooling or using a rental — verify the installation each time rather than assuming it transfers.
This article provides general child passenger safety guidance based on widely accepted standards. For advice specific to your seat model, vehicle, or a child with particular medical needs, consult a certified Child Passenger Safety Technician or your child's pediatrician.