Why a Pre-Journey Check Pays Off
Most highway breakdowns don't happen without warning. A tire that was already underinflated, a coolant level that had been slowly dropping, or a check engine light that the driver had been meaning to look into — these are the situations that turn a road trip into a roadside emergency. A structured scan before departure gives you the chance to catch those signals while you're still in control.
This checklist is designed to be completed in 10–20 minutes. It covers the five areas most likely to reveal a developing problem: dashboard indicators, tires, fluids, unusual sights and sounds, and lights. Work through each group in order, and reference your owner's manual whenever a warning light or specification is unfamiliar.
If you're new to reading vehicle warning signs, our guide for new drivers on warning signs walks through what common indicators mean and how to stay calm when they appear. For a broader pre-departure habit — including exterior checks — see our pre-journey safety walkround.
Never Ignore a Red Warning Light
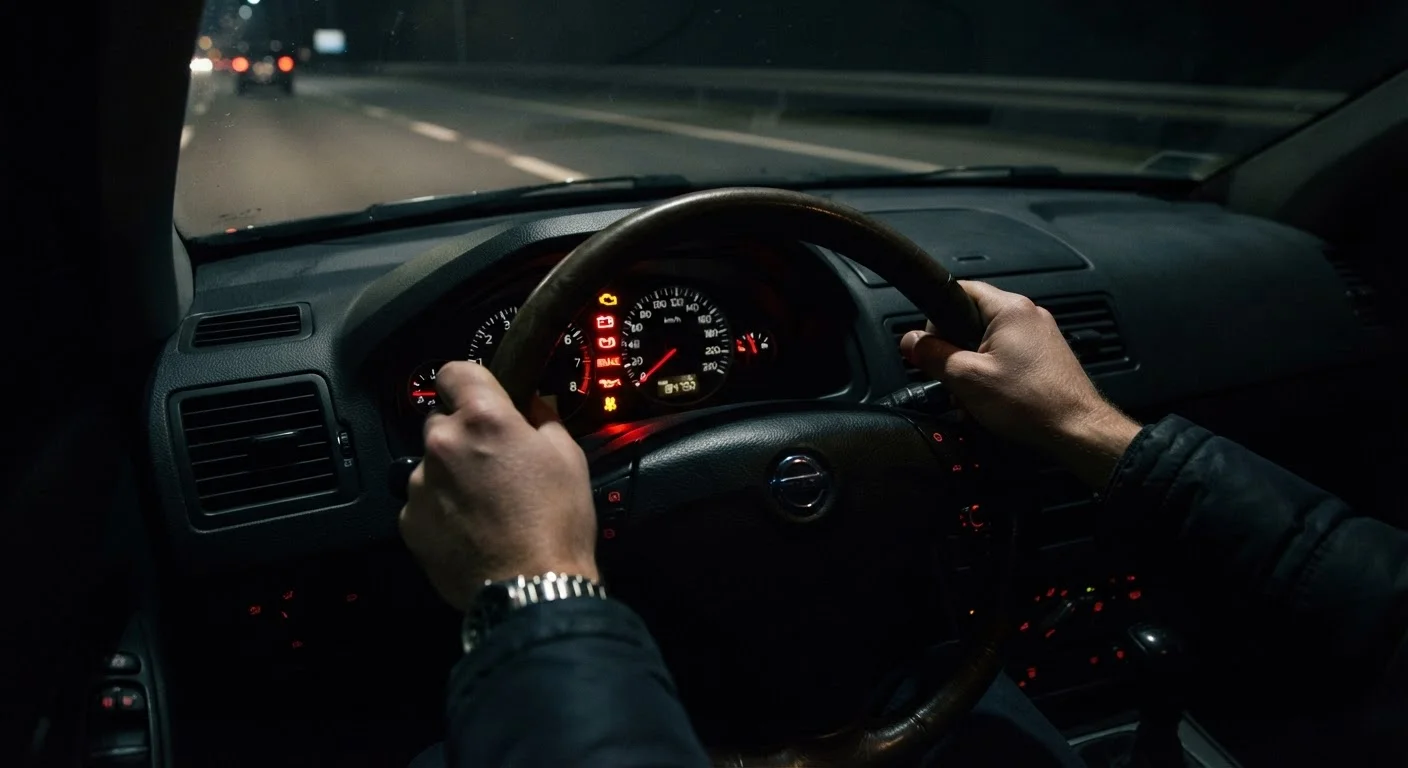
Red dashboard lights signal conditions that can cause immediate vehicle damage or create a safety hazard. If a red oil pressure, temperature, or brake system light appears, pull over safely as soon as possible and do not continue driving until the cause is identified. Driving on with an active red warning can turn a minor repair into a major one — or worse.
How to Work Through This Checklist
Start the engine and allow it to idle before you begin so you can evaluate real operating conditions. Work from inside the cabin outward: dashboard first, then a walk around the exterior covering tires and lights, followed by a look under the hood for fluids. Finally, take a slow 60-second pull down your street to feel the brakes and listen for sounds.
Items marked must are non-negotiable — each represents a condition that, left unchecked, poses a realistic risk of breakdown or accident. Items marked should address issues that are likely to surface under highway stress. Nice-to-have items improve your readiness but are unlikely to cause an immediate problem if skipped.
Tire Pressure Gauge
Accurately measure tire pressure to confirm it matches the vehicle placard specification.
OBD-II Scanner
Read stored diagnostic trouble codes triggered by a check engine light.
Flashlight or Work Light
Illuminate the underside of the vehicle and engine bay in low-light conditions.
Owner's Manual
Identify warning light meanings, fluid reservoir locations, and recommended fluid specifications for your specific vehicle.
If you need to communicate a symptom you've noticed to a professional, learn how to describe warning signs accurately to your mechanic — the right words lead to a faster, more accurate diagnosis.
When in Doubt, See a Mechanic First
This checklist helps you spot obvious issues before you leave home, but it is not a substitute for a professional vehicle inspection. If you notice something unfamiliar — an unfamiliar light, sound, or leak — consult a qualified mechanic before heading out on a long trip. Catching a problem in your driveway is far safer and less costly than breaking down hundreds of miles from home.
Dashboard Warning Lights
Tires and Wheels
Fluid Levels
Sights, Sounds, and Smells
Lights and Visibility
This article provides general vehicle maintenance information for educational purposes. It is not a substitute for professional mechanical inspection. Always consult a qualified mechanic when you are unsure about your vehicle's condition before a journey.